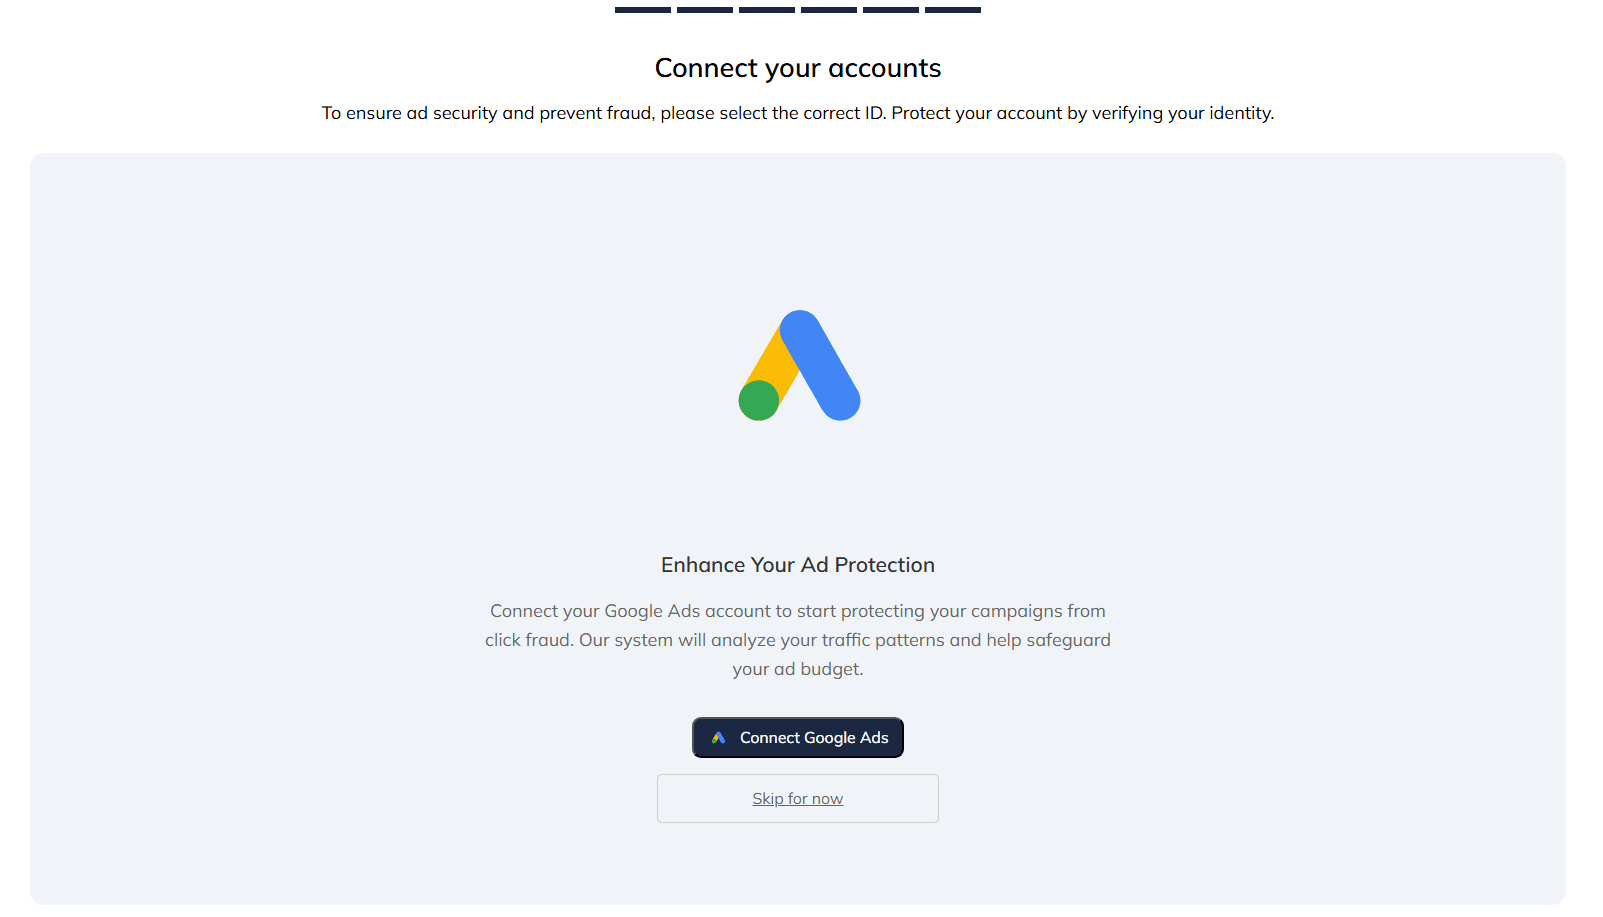
Connecting your Google Ads account is the most critical step to activate ClickSambo's powerful protection. This secure connection allows our system to receive detailed click data and configure your account for advanced tracking.
This official certification from Google verifies that our system integrates securely and reliably with the Google Ads platform. The setup methods described below follow the standard procedures required for all certified partners to ensure data accuracy and protect your account. You can view our official listing on the Google Ads Help Center.
To enable our analysis, ClickSambo needs to ensure your Google Ads account has Auto-tagging enabled and our tracking parameter is added to your Tracking Template. We offer two ways to accomplish this:
| Setup Method | Recommended For | Core Process | Effort Level |
| Automatic Setup | Most users | ClickSambo automatically enables auto-tagging and updates tracking templates. | Easiest (Hands-off) |
| Manual Setup | Advanced users / Third-party tracking | ClickSambo enables auto-tagging; user manually pastes the tracking template. | Advanced (Full control) |
| # | Platform | Action | Action |
| 1 | ClickSambo | Copy Template | Go to Account Settings > Domain Tracking Setup > Detail and copy the templat |
| 2 | Google Ads | Navigate | Log in and go to Settings > Account Settings > Tracking. |
| 3 | Google Ads | Paste (If Empty) | If the field is blank, simply paste the ClickSambo parameter directly. |
| 4 | Google Ads | Append (Existing) | Add after {lpurl} using an &. Example: {lpurl}¶meter. |
| 5 | Google Ads | Save | Click the "Save" button to apply your new tracking settings. |
You can disconnect your Google Ads account at any time by navigating to Account Settings > Connections in ClickSambo and clicking "Disconnect." Please note that this will stop all automatic protection and data synchronization.
Protect your marketing budget and increase revenue with ClickSambo
Start TrialAnalyze your account and uncover losses caused by fake clicks.
Get Free Report
Reach us easily via WhatsApp, live chat, or email.
Contact UsJoin our partner program and turn ad-fraud protection into a scalable, recurring revenue stream.